


Plan Your Season

Whether your garden is big or small, you ideally want to harvest a variety of crops continuously throughout the season. Achieving this requires careful crop planning.
As soon as sales wind down, typically in November, it’s time to begin planning the next year. That means choosing which varieties to grow (more than 70, in our case) and figuring out how much of each one you need; calculating seeding, transplant, and harvest dates for each variety; deciding where everything will go in the garden; and, finally, ordering the right amount of seed. Going through this planning exercise will allow you to make efficient use of your time and lighten your mental load when summer shifts into high gear—all you’ll have to do is follow the plan.
You may find the planning process arduous and discouraging. That’s completely normal. But tackling this task pays off in spades; once your first plan is established, you can refer to it over the following years, making small adjustments along the way. Planning your season is also a good way to figure out the baseline income you want to earn, whether you’re aiming to support yourself or supplement your earnings.
Planning, Step by Step
- Set your financial targets.
- Figure out what you want to grow.
- Make a crop plan.
- Create a visual garden plan.
- Develop an operations calendar.
- Order seeds, supplies, and equipment.
STEP 1: SET YOUR FINANCIAL TARGETS
If you’re looking to grow flowers only for pleasure, you don’t need to factor in the financials (although you will obviously incur expenses while gardening). Feel free to skip straight to the next step.
If, instead, you are running a commercial operation, you need to first set a financial goal, determining an income target for the next season. It should be both realistic and specific.
At Floramama, starting quite small was key to our profitability. It meant we had to make few initial investments and could instead focus on how to best use the resources we already had. Later, we scaled up as we acquired more resources.
In my very first year, I sold bouquets at one farmers’ market and in one grocery store, while also supplying loose stems (or bulk flowers) to professionals in the floral industry. I wanted to run trials to see what I could actually grow and harvest before launching a subscription program, which would require a bigger commitment. Surprisingly, I started that first year with only a loose plan: grow as many varieties, early blooms, and successions as possible. It worked out super well! As mentioned earlier, I then drew on first-year production data to create Floramama’s second-year crop plan, optimizing for more grocery store partnerships, increased bulk sales, a few weddings, and a new subscription program. In the farm’s fourth season, when Raphaëlle came on board, we aimed to hit $150,000 in annual sales within three years. We mapped out steady growth—$45,000 the first year, $90,000 the next, and $150,000 in the third—but ended up exceeding every mile- stone. By the fourth season, we were making $385,000 in sales over 25 weeks, all with less than 1.5 acres (1 ha) of growing space.
To determine our annual financial target, we estimated the revenue we hoped to generate from each sales channel: subscriptions, farmers’ markets, grocery stores, bulk sales to industry professionals, and events and weddings. For each sales category, we then planned out the number of bouquets we’d need to assemble per week to hit our targets.
As an example, picture a flower operation smaller than Floramama. The grower is looking to bring in $10,000 over 18 weeks, selling at a weekly farmers’ market. To hit her target, she will need to bring in an average of $560 per week, from 23 bouquets priced at $25 each.
Every year, we review and set our financial targets during the annual planning process in November, when we can take a step back and reflect on the past season. We check in with ourselves too. Are these new financial goals motivating or discouraging? Does the farm size still align with what makes us feel alive? This exercise is an opportunity to clearly lay out each person’s objectives and needs so that changes can be made as required.
STEP 2: FIGURE OUT WHAT YOU WANT TO GROW
Once we’ve settled on a financial target, it’s time to map out how our flower production will get us there. Before you can begin playing around with dates for seeding, transplanting, and harvests, you first have to figure what you want to grow.
Select Varieties
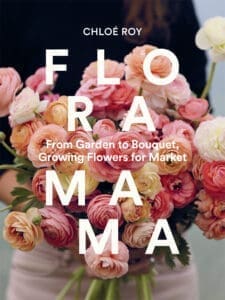
This has got to be the most exciting part of the planning process! Finally, it’s time to choose what you’ll grow and, in a way, create your unique signature. I recommend working with a cohesive color palette, as this will make it easier to assemble bouquets. That said, if you want blooms in every color of the rainbow, then go for it! The idea is to develop your own style so you’ll actually like the final product, which should embody your aesthetic.
For bouquets that are attractive, harmonious, bountiful, and a little funky, you’ll need three categories of flowers:
- Focal flowers (eye-catching show stoppers, often the largest blooms in a bouquet)
- Filler flowers
- Foliage
By striking the right balance between these three ingredients, you’ll create bouquets that are the right size for the prices you set in Step 1. To get there, I recommend creating a table with three columns, one for each category. Fill it in with all the varieties you hope to grow. A quick glance will tell you whether you’ve made good choices, and then you can tweak the plan accordingly. For example, if you don’t have enough foliage, you might plan to grow several successions of a preferred variety or fall back on responsible wild harvesting.
I suggest first filling out your table with all the crops that inspire you, then eliminating varieties as needed. If you want to incorporate new, lesser-known varieties of cut flowers, they must absolutely meet the following criteria, listed in order of importance:
- Crop suited to your local climate (see hardiness zones)
- Long vase life (seven days or more, if possible)
- Stems at least 12 inches (30 cm) long
- Pleasant colors
- Interesting shapes
Not mandatory, but definitely a bonus:
- Can be dried
- Fragrant blooms (use sparingly, as some people do not like the scent)
STEP 3: MAKE A CROP PLAN
Now that you’ve decided what you want to grow, it’s time to figure out the quantities and timing required to reach your financial goal from Step 1. To do this, you’ll need to have four pieces of critical crop planning information on hand.
First, find out what the first (fall) and last (spring) frost dates are for your specific location. This will determine the window in which you can grow a crop without the use of additional protection, such as a tunnel or a floating row cover.
Second, look up the days to maturity (DTMs) for all the varieties you plan to grow. This will tell you whether each one will have enough time to reach maturity within the standard season or need cold protection measures to extend the growing season.
Third, look up yields per plant. Use this information to calculate how much of each variety you need to grow in order to harvest enough stems per week and meet your sales targets.
Lastly, figure out the price per stem for every variety, comparing this to your bouquet prices. Remember that the value of a bouquet is not determined by its volume but by the cost of every stem it contains. Since prices per stem vary by region, you need to find out what cut flowers are going for in your area. Your local cut-flower association and nearby farms can be a great place to start as you build a price sheet. This is a critical step, because you don’t want to undercut the market or drive prices down.
Plan Bouquets
The next step is to plan out your weekly bouquets, using the financial targets and bouquet prices from Step 1. That means deciding which varieties—and how many stems of each one—to include in your weekly bouquets, letting price per stem and price per bouquet guide you.
For example, let’s say our grower from page 114 wants to sell 23 bouquets per week, at $25 each. She first has to calculate the number of stems needed to hit that $25 target, then multiply the total by 23. She’ll then have to repeat the process for every week of the season and every different bouquet she intends to sell. To help get started, see a breakdown of the ingredients in our CSA subscription bouquets on page 300.
Map Out Your Dates
Now that you’ve planned out weekly bouquets, it’s time to check that your planting and harvest dates are realistic, making sure they can accommodate each variety’s DTMs and will provide appropriate weather conditions for every crop. For example, let’s say I want to harvest cosmos in weeks 31 and 32; I have to make sure they’ll have enough time to reach maturity. I start by looking at the targeted harvest date for the specific variety then subtract the DTM from my harvest date to get my seeding date in the greenhouse. I usually keep seedlings in the greenhouse for five weeks so five weeks after the seeding date is my typical transplant date. I then compare these dates to the realities of my local climate and the requirements of each crop.
After all this, if harvests seem well-balanced—that is, we’ll be able to pick the right amount of stems in every variety, for each bouquet recipe, from week to week throughout the sales season, and transplant days are appropriate for each crop, given the anticipated weather and environmental conditions—then we can set seeding dates for every variety.
If, instead, the harvest schedule still needs some tweaks, I make sure to switch certain varieties to a more appropriate date or add/remove successions. Only once you’ve established a consistent and varied harvest plan can you determine seeding dates, following the steps listed above.
Keep in mind that your flowers won’t all bloom on the same day, so you need to begin harvesting about one week before your sale date, to make sure you have enough once it’s time to make bouquets. At Floramama, that means we harvest over the course of the week, then assemble bouquets with the accumulated stock. We repeat this cycle week after week.
As you figure out crop timing, consider one last detail: harvest type. Are the blooms you selected cut-and-come-again varieties (with a long harvest window) or single harvest crops (with a limited harvest window)? This will shape your crop plan.
As you move through the planning stages, gather all these details in a single, easy-to-read written document.
A Standardized Garden
We allocate only full or half beds to crops because it makes planning easier, allows for the use of standardized growing equipment, and streamlines field work. Usually, we plant full beds with a single variety, but we round up to an additional half bed when we need a little more. So, if our plan calls for 1.25 beds of a given variety, we’ll plant 1.5 beds and bring whatever is left over to market or sell it in bulk. If you must grow only a half bed of a given crop, make sure the crop in the other half has similar needs and behaviors in terms of spacing, irrigation, insect netting, trellising, etc.
Crop Successions
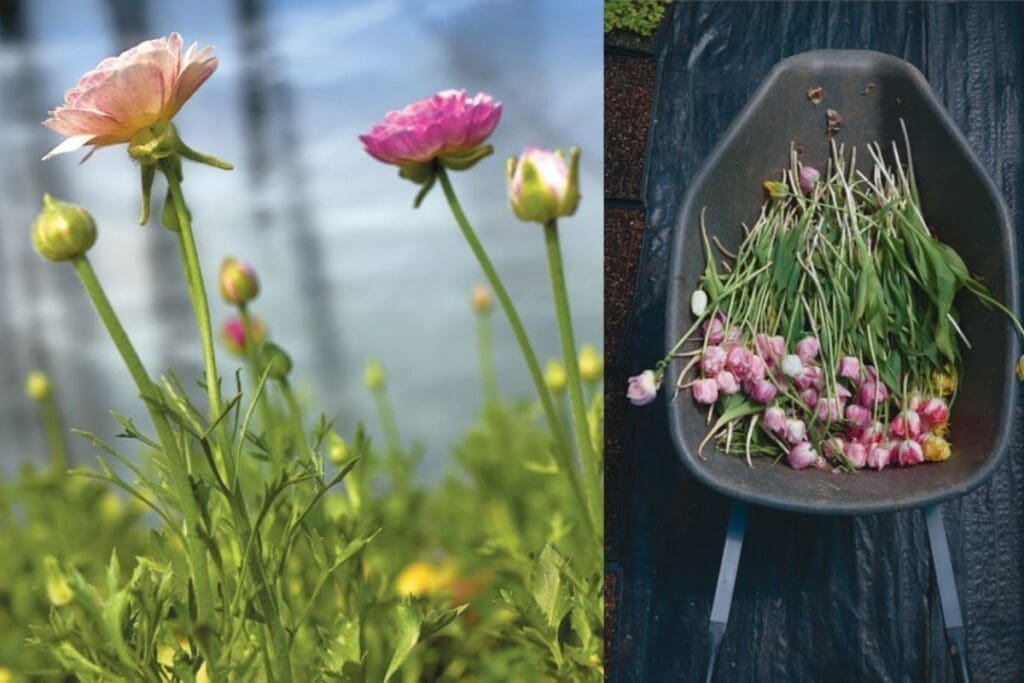
And don’t even think about tulips in July—it simply will not work. For staggered harvests over the entire season, the key is to plan many crop successions. If we sowed everything at the same time in the spring, we’d be bowled over by a brief tidal wave of blooms in a short timespan, followed by nothing at all.
That’s why, in the spring, we sow multiple varieties every week. We also grow multiple successions of our favorite varieties, but only in the appropriate season for each crop. For example, do not plan to harvest eucalyptus in April if the first succession is sown in early March and the crop takes roughly 150 days (DTMs) to reach maturity.
In a Nutshell
- Figure out your standard bouquets for every week of the season, deciding which varieties will make up each recipe.
- Check whether all of your transplant and harvest dates fit within your local growing season.
- Tweak harvest dates as needed, for a more appropriate timing.
- Add or remove successions as needed.