For most gardeners – and aspiring gardeners – winter is the perfect time to start planning and dreaming about next year’s garden. Whether it’s a few pots on a balcony, or a tiny backyard bed, a community garden plot, or even a small market garden, it’s exciting to think about spring and new plants, and delicious homegrown food.
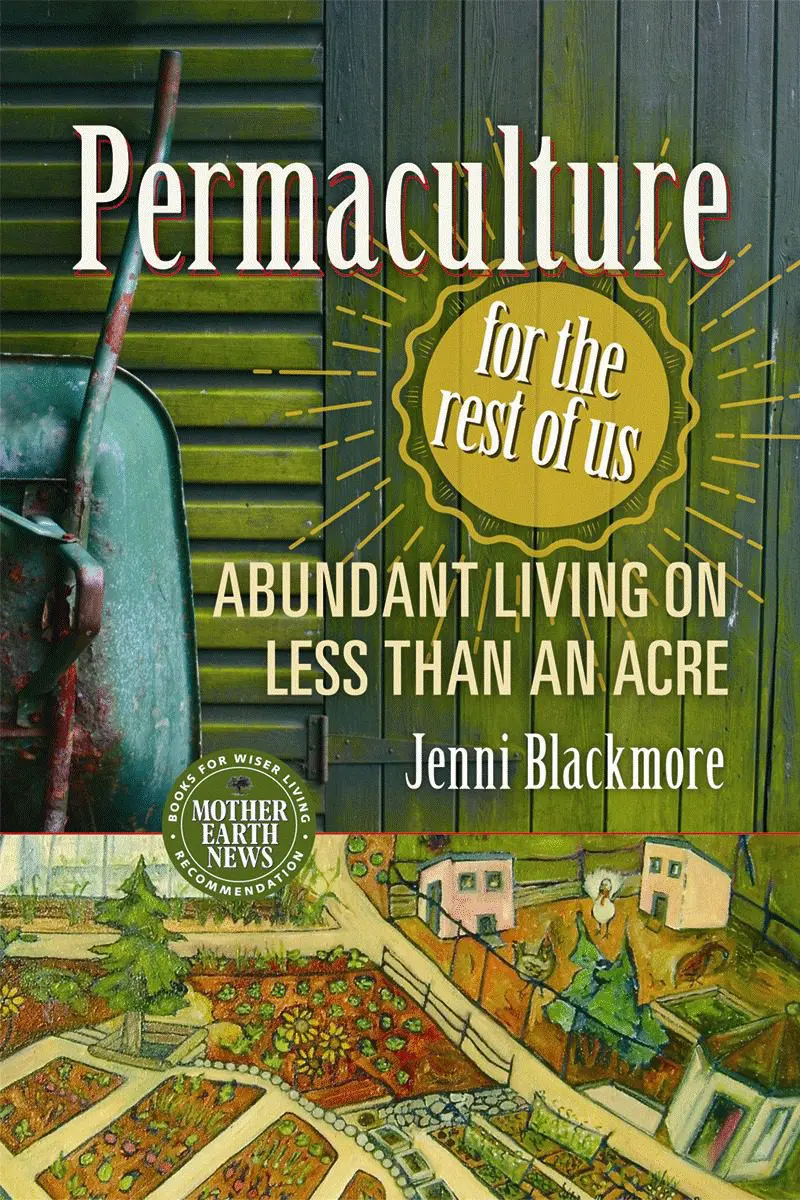
Jenni Blackmore, author of The Food Lover’s Garden, offers a much-needed wealth of tips, information, and lessons learned, for both experienced and starting gardeners.
If you already have an established garden, now is the time to settle in with a seed catalogue or two and a warm drink to start planning. If you’re thinking of starting a garden – no matter how small – Jenni’s encouragement and years of experience may be just what you need. Below, she talks about simple ways to build garden beds, whether to start or expand your growing adventure.
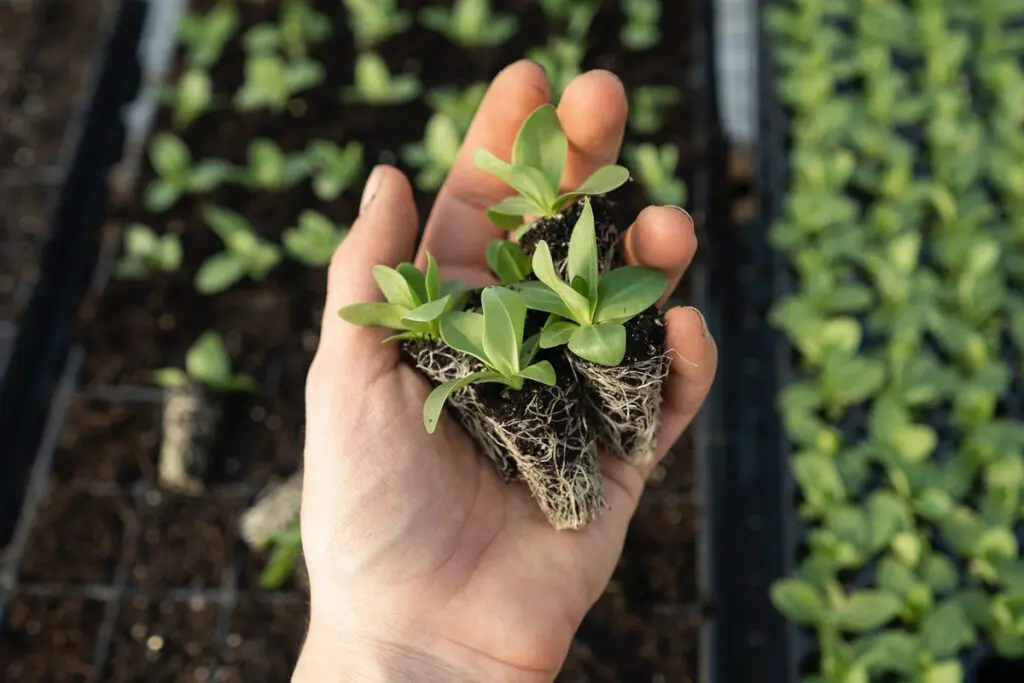
Creating Garden Beds
There are several ways to construct a garden bed. A generation ago the most common way was to till or dig up whatever ground was available and sprinkle in some chemical fertilizer. Yikes! Fortunately chemical fertilizers are being recognized for what they are: a threat to our health and the health of our soil, and digging is being replaced by more efficient techniques.
The two methods I favor are raised bed and lasagna gardens. They are actually somewhat similar and equally simple to construct.
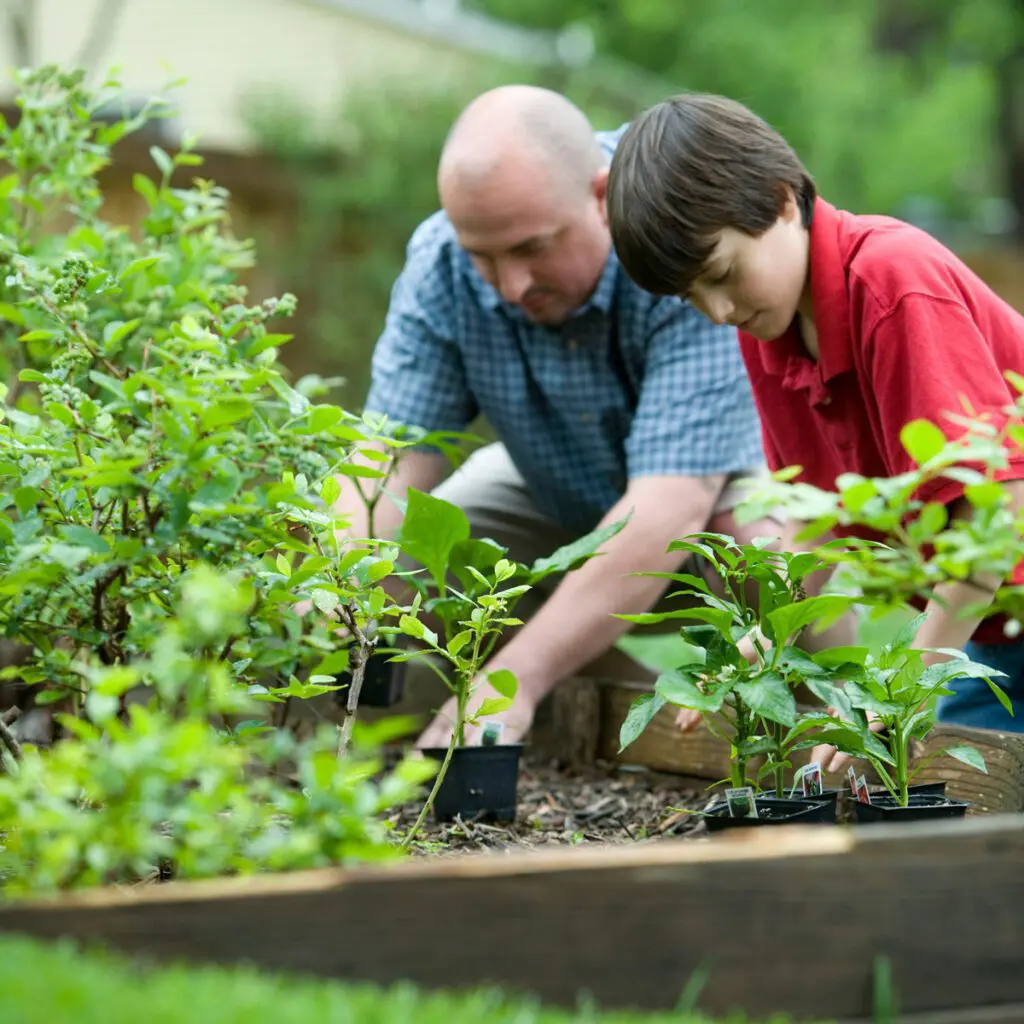
Raised bed gardens are built up on top of the existing ground, usually using a wooden frame. The frame is then filled with a fertile mix of soil, compost and manure. Raised beds can be any shape but are usually square or oblong depending on the space you have to work with. The important thing to remember about raised beds is that they’re never trodden on. Because the soil is never compressed it remains light and fluffy. Oblong beds are not more than four feet wide to allow easy access to the center of the bed from either side. Eight inches or deeper is an optimum depth for soil in a raised bed.
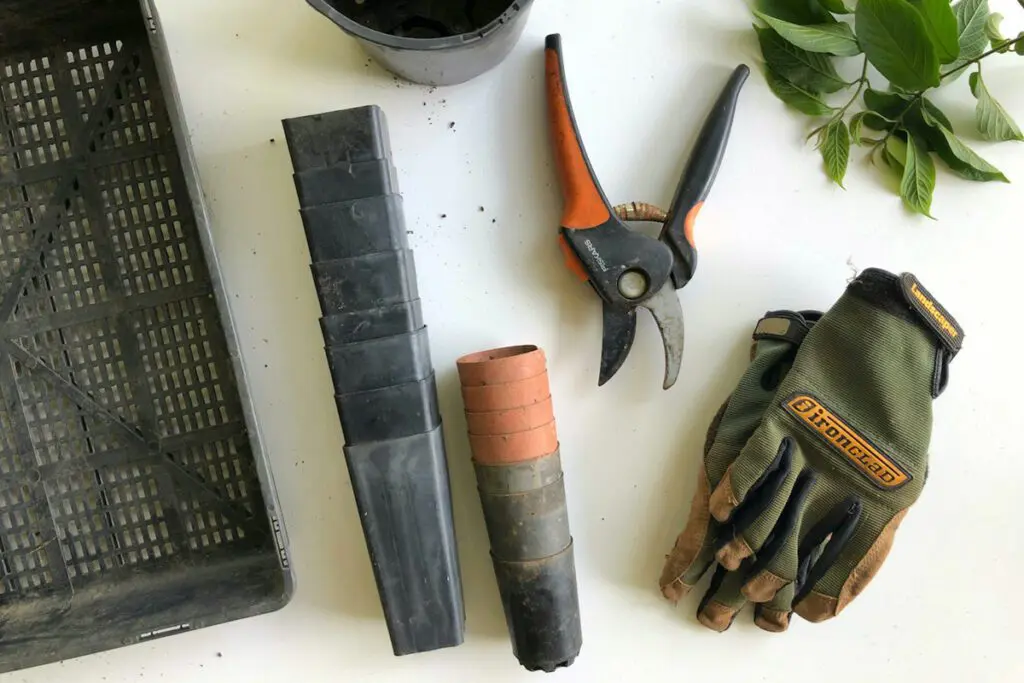
The Lasagna Bed is another popular and highly efficient method of creating a growing place. The lasagna bed is quite similar to a raised bed in that the growing area is created on top of the existing ground level and, therefore, does not require any strenuous digging.
Lasagna beds are well named as they’re composed of layers, much like the similarly named pasta dish. In this case the layers consist of organic materials such as grass clippings, leaves, seaweed, spoiled straw, manure and compost interspersed with occasional layers of soil. Note: two thin layers of an ingredient are much more effective than one thicker layer.
Each of these layers or ingredients adds its own particular set of nutrients to the mix and I’m sure that all the insects and microbes go crazy trying to decide where they like to hang out the most. It’s their activity that will blend the layers into amazingly fertile soil.
First off, cover the chosen plot with newspaper and then cardboard. A couple of layers is better than one, if supply permits. This really important first step ensures that no pernicious weeds (weeds with root systems designed to take over the planet) can force their way up into the garden. Mulching with cardboard might seem weird but this is a simple yet effective way to deter already well-established weeds from reappearing. It also holds water well and over time will break down providing more organic matter.
The ingredients of a lasagna bed can be roughly grouped as green (grass clippings, kitchen waste and other fresh plant material) or brown (straw, dead leaves and soil) and it’s a good idea to alternate between green and brown layers as much as possible. A little compost goes a long way by importing trillions of hard working bacteria and more than a few worms, and certainly more than one layer of compost will push the decomposition process into overdrive. Fresh manure, which is referred to as being “hot,” will also speed up the process by heating everything up, but it should only be placed in the lower layers of the bed so that the delicate roots of plants will not reach it and get “burned.” (Normally manure should be aged for at least a year before it’s applied to the soil.)
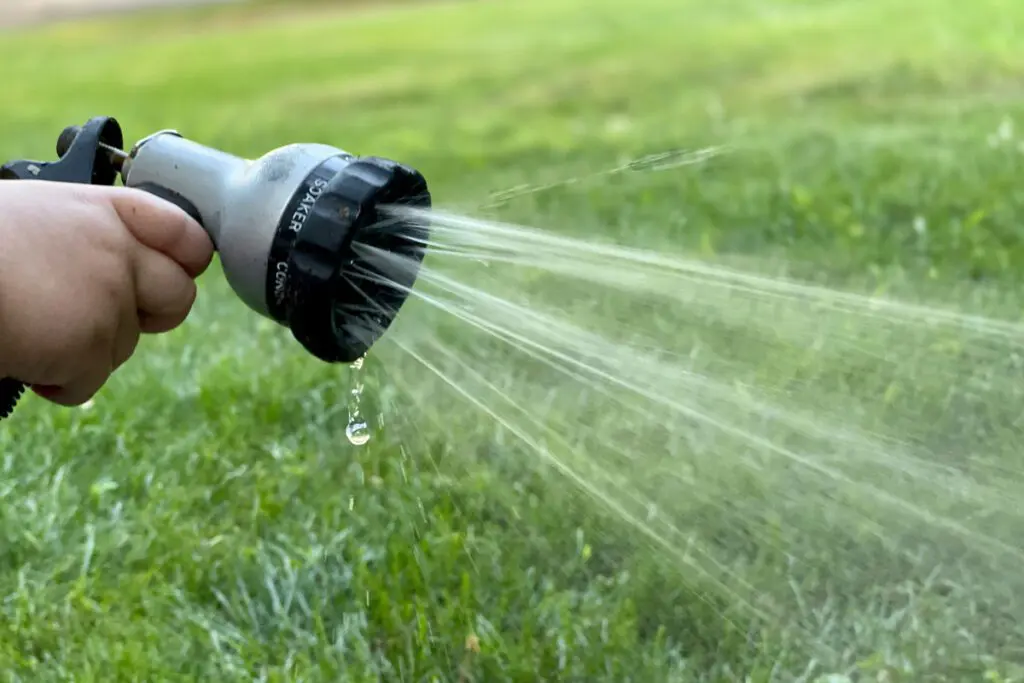
The top layer of the bed will be soil which is then covered with straw or dry leaves to prevent any weed seeds sprouting on the surface. Ideally a lasagna bed should be set up in the fall so it has the winter to meld into a rich, fluffy growing medium but shallow rooted plants can thrive in a newly established lasagna bed, especially if the top layer of soil is fairly thick (a minimum 2 inches) and the bed is kept well-watered.
The area chosen for any garden bed should have full sun all day or at least as close to that as possible. It should not be heavily shadowed by large trees because while the branches are stealing light, the roots of the trees will be gobbling up nutrients intended for the veggies. Dense shrubbery and small trees reasonably close by are not such a problem and in fact might provide a welcomed wind break.
Both of these methods of creating garden beds produce very fertile soil which can be densely planted, because there’s plenty of plant food to go around. So, even if the area you have to work with initially might seem to be insufficient, don’t be discouraged. You will be amazed at how much food even a large pot or a well-tended window box can produce. But be warned, growing food is addictive! You may be starting with a two foot by four foot box on a sunny balcony, but keep in mind how the journey of a thousand miles begins. 🙂


