

Karen McAthy is founder and head cheesemaker at Blue Heron Creamery, which makes cultured, plant-based cheeses for restaurants, retail outlets, and private customers. Karen also teaches classes on plant-based cheesemaking and hosts regular creative dining events. She is the former Executive Chef of Graze Vegetarian and current Executive Chef of Zend Conscious Lounge in Vancouver, BC.
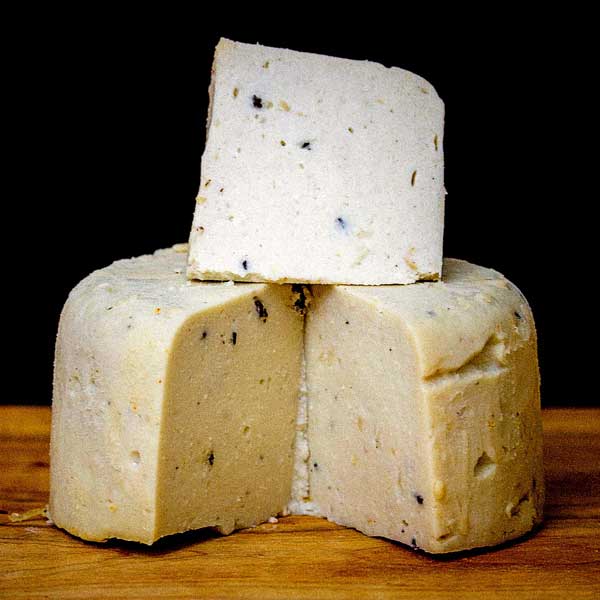
Havarti/Gouda-style Quick Vegan Cheeze Recipe

Plant-based cheesemaking has revolutionized the culinary world, offering a wide array of delectable options for those embracing a vegan or low impact lifestyle. Through the use of artisanal techniques and a dash of culinary creativity, talented cheese makers are helping to bring vegan cheezes to the forefront of food conversations. But plant-based cheesemaking is not only for the trained chef, Karen McAthy is bringing it to your home too! In her cookbook, The Art of Plant-based Cheesemaking: How to Craft Real, Cultured, Non-Dairy Cheese. Karen shares a wide selection of recipes for so many of your favourite cheeses, in a plant-based form.
If you’re a lover of Havarti or Gouda, we recommend trying out Karen McAthy’s quick cheese recipe below.
Havarti/Gouda-style Quick Vegan Cheeze Recipe
Identifying this as a havarti- or gouda-style cheeze is a very loose identification and really serves more as a broad reference. In general, though, havarti and gouda are mellow tasting cheeses with a soft, or grounded, acidity and a creamy but dense mouthfeel (I have had to ask many of my friends who still consume dairy or who have more recent memory of dairy cheese than me for help with this description). As such, I have chosen materials that provide more creaminess, muted sweetness, and mild acidity. Without the use of fermentation by microbes, flavor is built in quick vegan cheeze recipes through putting together ingredients that, when combined in favorable ratios, imply something familiar.
Like the other recipes in this quick cheeze section, the base recipes are intentionally plain, or non-flavored, so that you can focus on getting comfortable with blending and understanding the core ingredients on their own. Flavor-seasoning profiles are included at the end of the base method.
Ingredients
- 2 cups cashews (or 1 cup cashew/1 cup almond, or 2 cups almond, or 1 cup cashew/1 cup macadamia, or 1 cup cashew/11⁄2 cups rolled oats)
2 1⁄2 tsp salt - 1⁄4 cup apple cider vinegar
- 1⁄4 cup nutritional yeast
- 1 cup coconut milk
- 11⁄2 cups water (or coconut milk or another plant milk) 1⁄4 cup softened coconut oil, or cacao butter
- 6 Tbsp tapioca starch
1⁄2 Tbsp agar agar powder
Method
- Before beginning any recipe, ensure that you have all of the equipment and ingredients that you need. Wash and sanitize your preparation and storage area as well as the equipment you will use.
- Decide which substitutions you are going to make. If you decide to use oats in your version of this recipe, I suggest using hot water during the blending process because it will prevent the mixture from binding around the blades. Boil the hot water in advance and have it ready. Likewise, prepare your choice of coconut oil or cacao butter by softening it over heat in advance.
- In a blender, add approximately half of the liquid ingredients except the softened oil. Add the nuts and dry ingredients, including the tapioca starch and agar agar. Begin blending on the lowest setting. If you have a blender with preset speeds for particular functions, start with the ice crush setting. Pulse a few times to allow the larger material to start breaking down into smaller pieces. This will aid emulsification of both the dry and wet ingredients.
- Gradually increase the speed, or change the preset function to either smoothie or ice cream. As the speed increases, focus on observing the smoothness of the mixture. Add more fluid as you need.
- Add the softened oil and reduce the speed of blending to allow the oil to bind with the mixture. Emulsification works best at low speed and when ingredients are at a similar temperature, so ignore your desire to get the blending over with, and pay attention to how the oil is combining. If it is too cold, it will clump in the warmer, already blended mixture.
- Taste your mixture. If you want to adjust salt or acidity, now is the time to do it. Once you have adjusted the base seasoning, use a spatula to scrape the mixture from the pitcher, and place it in a thick cast saucepan. At this stage you may also fold in any dried herb or spice you wish to incorporate. If you wish to add solids (e.g., chopped dried fruit), wait until the mixture has finished heating up and is in the cooling process (at step 9).
- Heat the mixture in the pot gradually. This allows all of the components to get heated evenly. Because you have starch and agar agar in this mixture, you will need to whisk or stir regularly to avoid clumping. As the mixture begins to heat, it will loosen and appear quite fluid at first. Be patient and keep whisking or stirring, and observing changes as it begins to thicken.
- Gradually increase the heat to medium, and check the temperature of your mixture with a probe thermometer. If you do not have a thermometer, be sure to observe the mixture for the formation of bubbles. Remember, the agar agar needs to be heated to 185°F (85°C) and maintained at that heat for 5 minutes to become fully active. Because the agar agar is now within the mixture, the entire mixture needs to heat up evenly to ensure that the agar agar is properly activated. As it thickens, you should observe residue on the sides of the pot beginning to hold shape, which tells you that the mixture will set. The longer you heat it over low-medium to medium heat, the more moisture will evaporate from the mixture and the firmer the mixture will set.
- Once the mixture is heated and you are confident it will set well, remove the pot from the heat. Use the spatula to scrape the mixture into a mold to hold the mixture in shape as it sets. If you use a silicone mold, you don’t need to line it with cheesecloth. If you use a ring mold or springform pan, line it with cheesecloth (doubled up to ensure the weave is tight). If you use an open-ended ring mold, make sure you have the mold and cheesecloth set on a wooden board or other smooth firm surface that can be moved with the cheeze on top.
- Allow the cheeze in the mold to rest at room temperature until it is noticeably beginning to set. If you refrigerate it too soon, the surface will cool too quickly, and heat retained within will cause cracking of the surface. Cooling at room temperature should be between 1 and 4 hours. Refrigerate the cheeze in the mold overnight, and check it the next day. If it is quite firm to touch, gently remove it from the mold and place on a wooden board or bamboo mat, top side down to allow the sides and bottom to begin to air dry, which helps remove excess moisture from the cooling process.
About the Author
Want More?
Read the Book
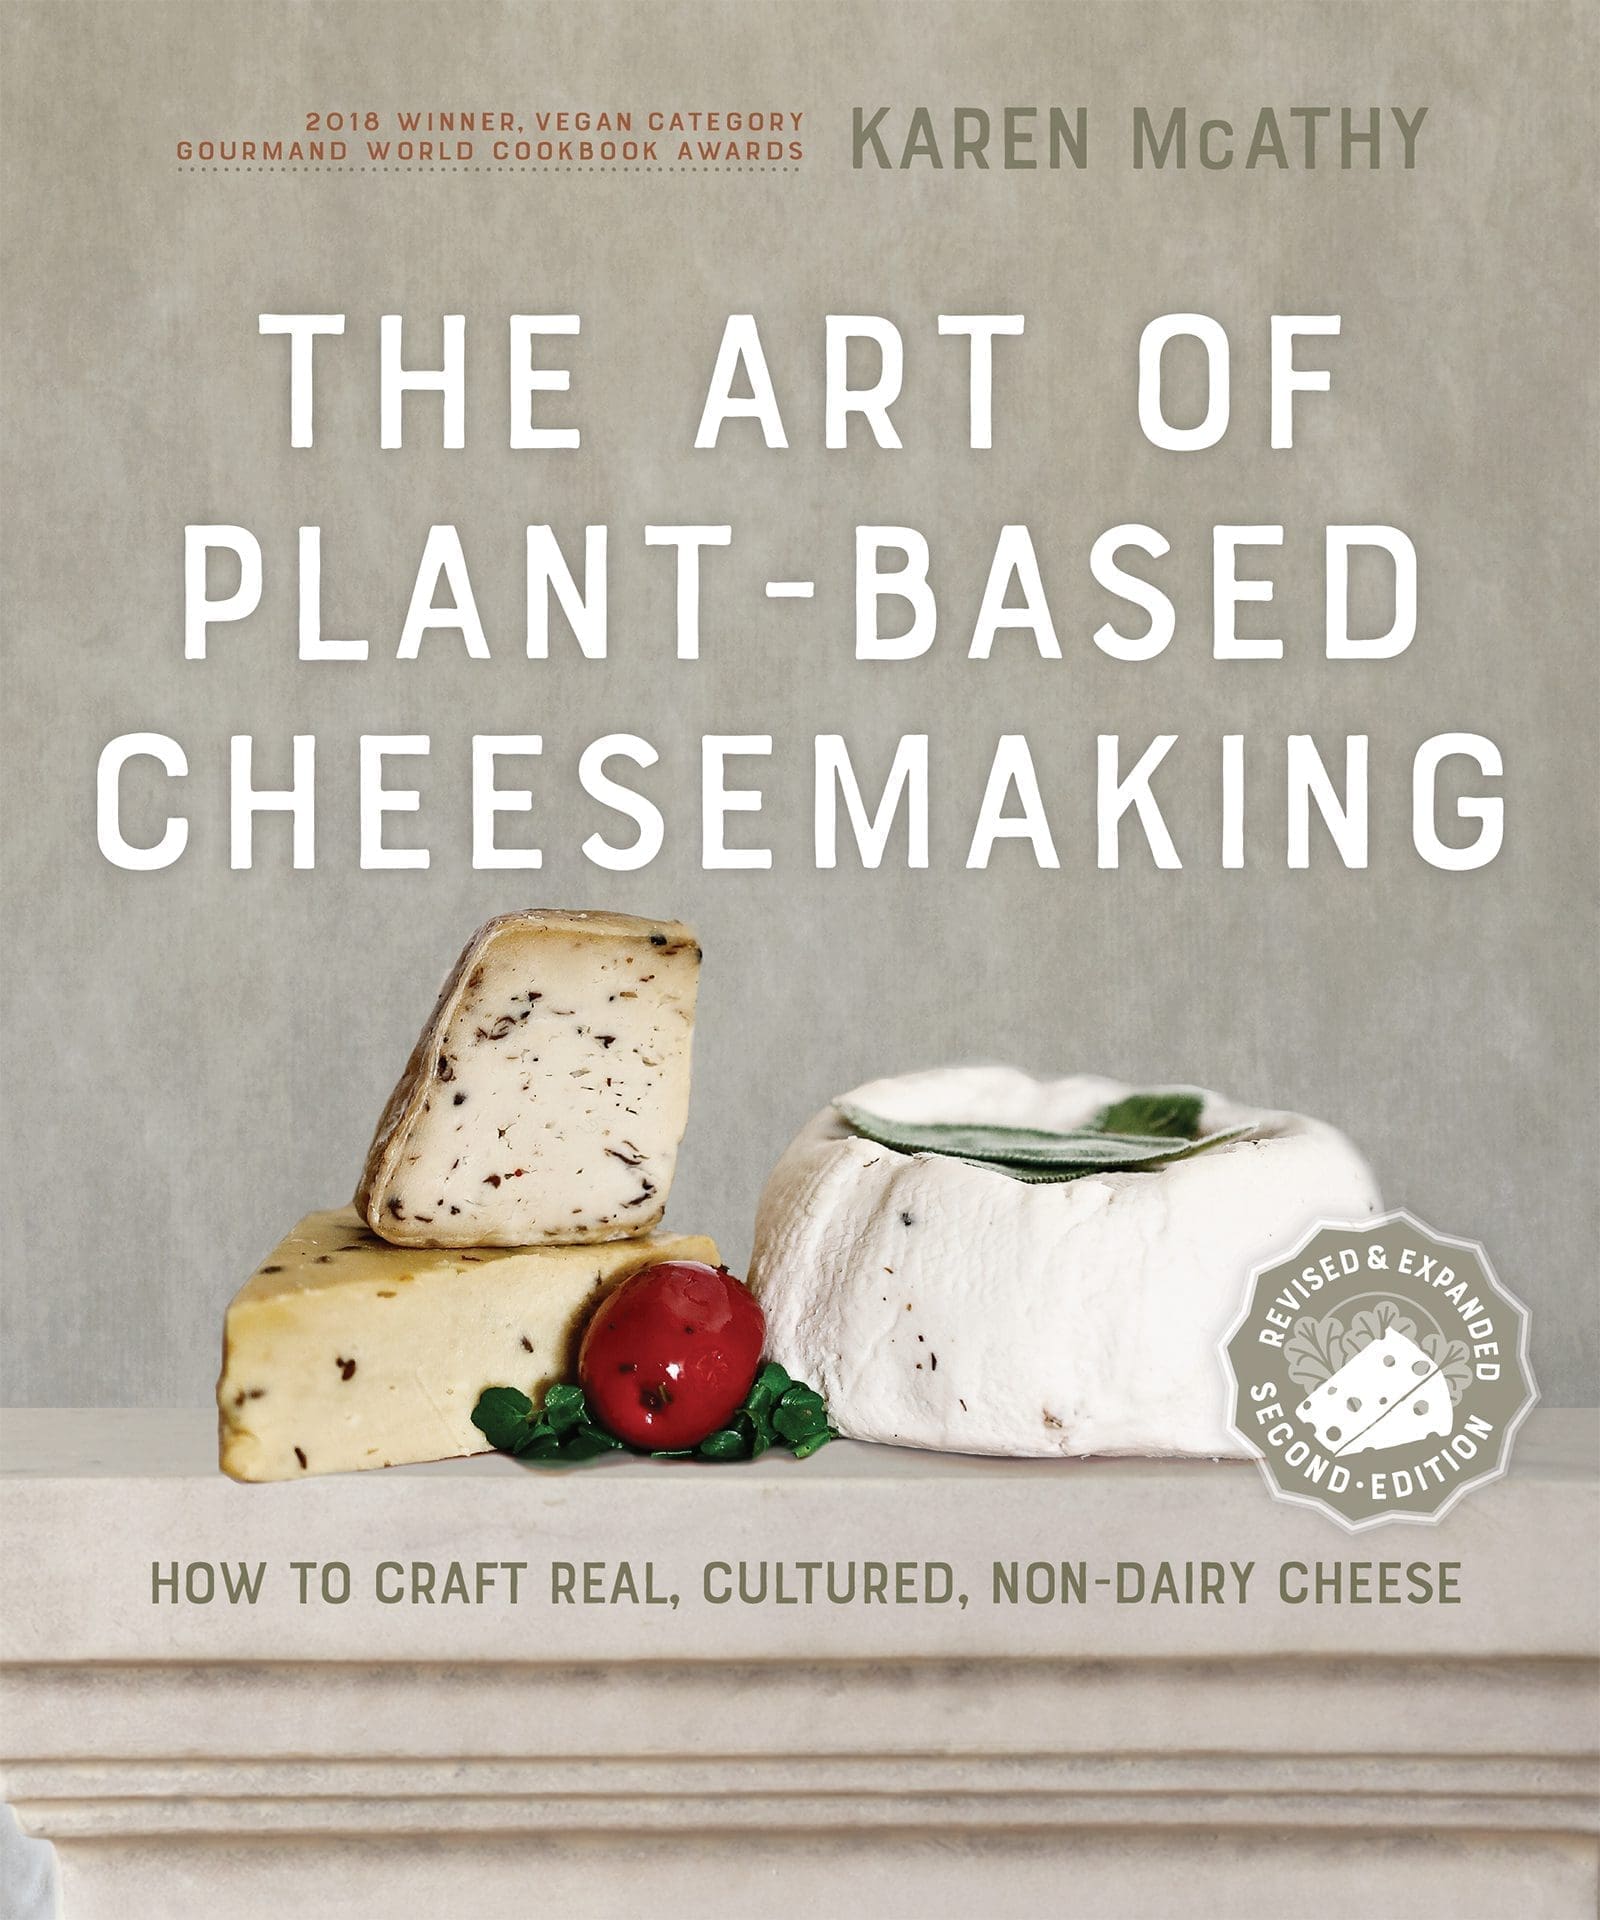
The Art of Plant-Based Cheesemaking, Second Edition
$32.50 USD $49.99 USDPrice range: $32.50 USD through $49.99 USD
This product has multiple variants. The options may be chosen on the product page
Additional Reads
The Complete Guide to Seed and Nut Oils
$19.50 USD $29.99 USDPrice range: $19.50 USD through $29.99 USD
This product has multiple variants. The options may be chosen on the product page

Homemade for Sale, Second Edition
$22.75 USD $34.99 USDPrice range: $22.75 USD through $34.99 USD
This product has multiple variants. The options may be chosen on the product page

Hollyhock
$19.50 USD $29.99 USDPrice range: $19.50 USD through $29.99 USD
This product has multiple variants. The options may be chosen on the product page

Hollyhock Cooks
$19.50 USD $29.99 USDPrice range: $19.50 USD through $29.99 USD
This product has multiple variants. The options may be chosen on the product page

DIY Kombucha
$16.25 USD $24.99 USDPrice range: $16.25 USD through $24.99 USD
This product has multiple variants. The options may be chosen on the product page