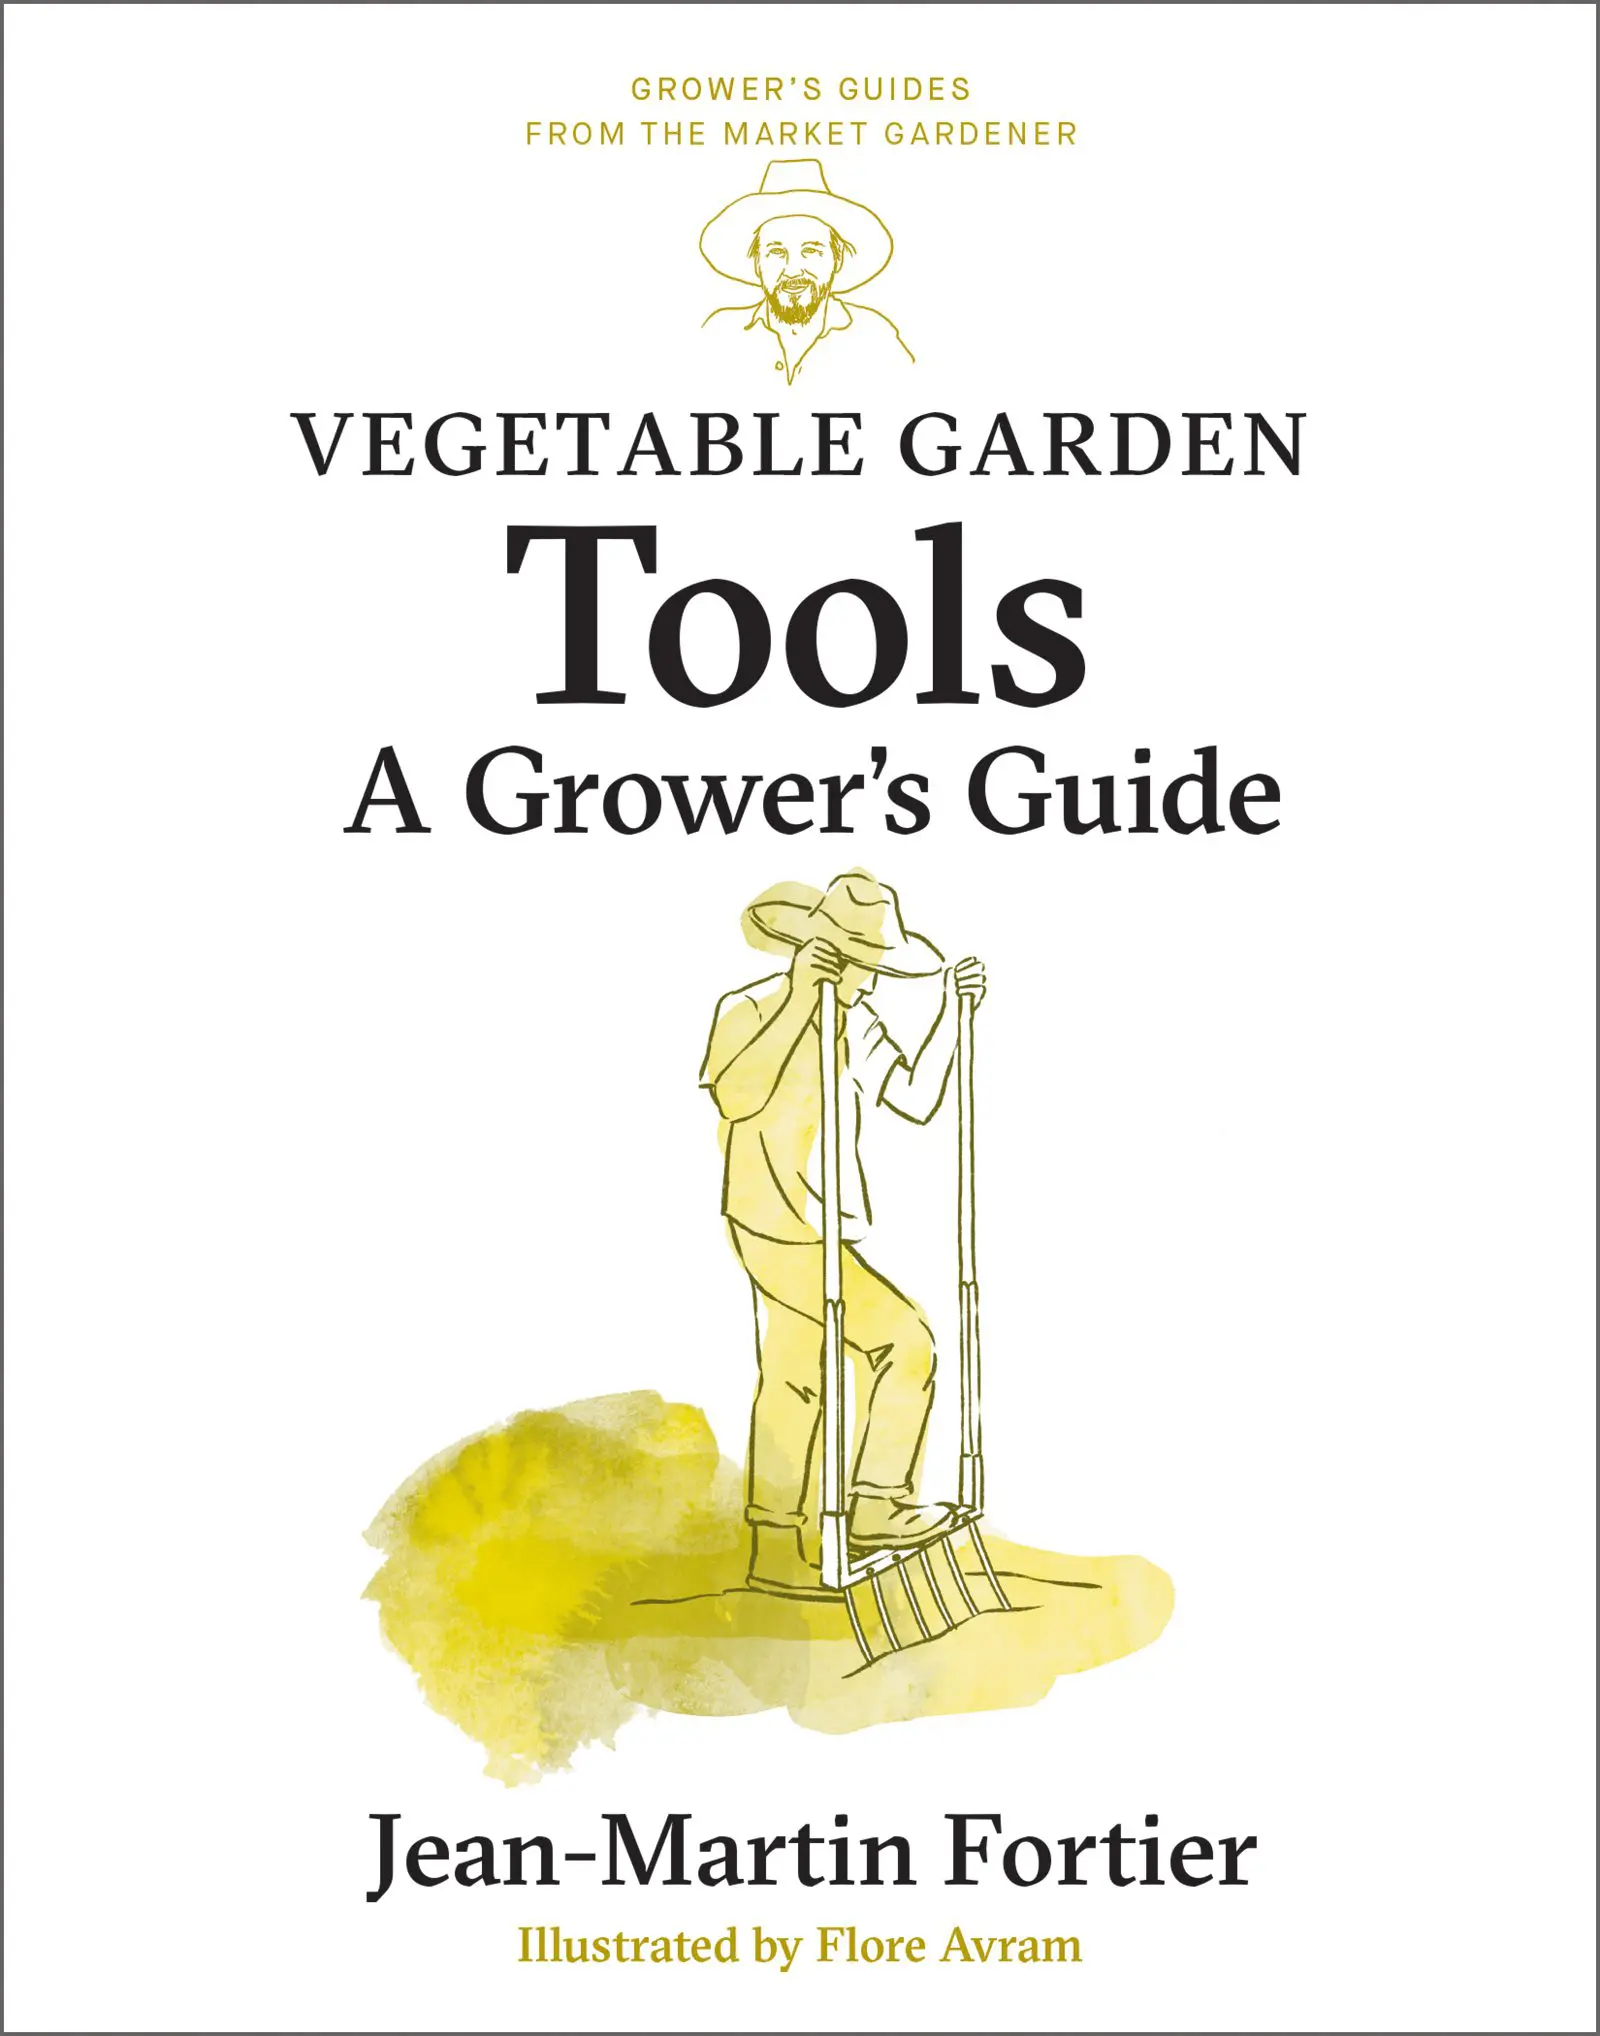
Transplanting doesn’t have to be tedious—not with the right tools. In this excerpt from Vegetable Garden Tools: A Grower’s Guide from The Market Gardener, Jean-Martin Fortier introduces the Paperpot system, a game-changing tool for efficient, high-density planting. Perfect for small-scale farms and home growers alike, this system saves time, reduces labor, and boosts early-season success. Learn how to use it, set up your own seedling space, and get a strong start to your growing season!
The Paperpot System
When it comes to transplanting, the Paperpot system has been revolutionary in allowing growers to plant seedlings without having to remove each one from a pot or tray.
Purpose and Advantages
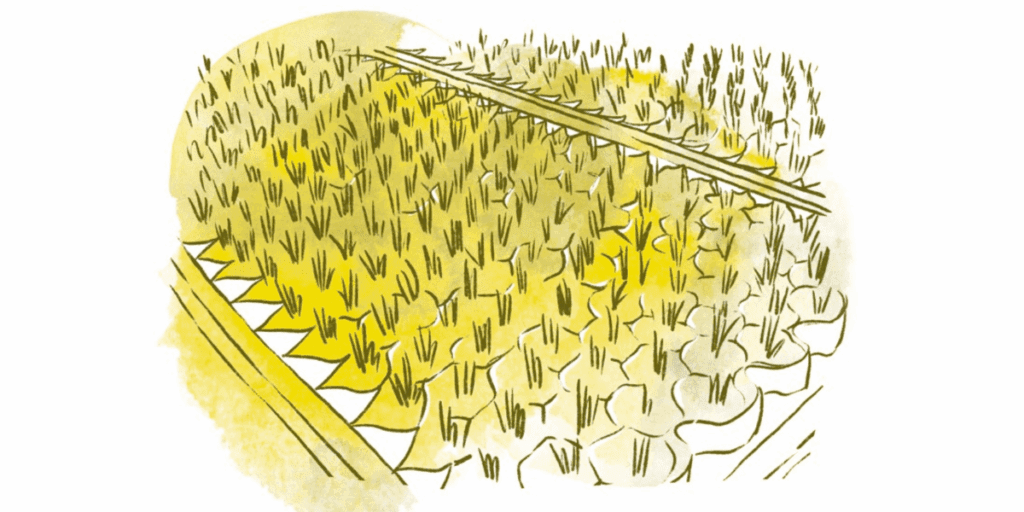
Paperpots, or paper chain pots, are strips of paper stuck together to create hexagonal cells. Each chain contains 264 cells. The manufacturer provides all the equipment needed to use the Paperpot system: rigid plastic seedling trays, a metal frame that supports the paper chains, spreader bars, the plastic seeder frame, and the transplanter itself (see p. 68). For microfarms, the complete starter kit is a small investment, but it’s worth it. Paper chain pots are sold individually or in boxes of about 75 units.
Once the seedlings are ready to be transplanted, these honeycomb structures go right into the soil, using the manually operated Paperpot transplanter. They do not need to be individually pulled from their cells, because their biodegradable paper will gradually disintegrate in your soil. This is a huge time-saver.
Tip from Jean-Martin Fortier
The Paperpot Transplanter is the very best tool to grow and transplant seedlings efficiently. With a range of paper chain pot dimensions, you can adjust in-row spacing with precision. It makes the tedious planting stage twice as fast as it would be with plug flats. No more need to hire additional workers for transplanting. One person is enough to get this step done. The Paperpot system is also ideal for growing early vegetables and crops typically sown right in the field, like turnips, radishes, and even beets.
How to Use It
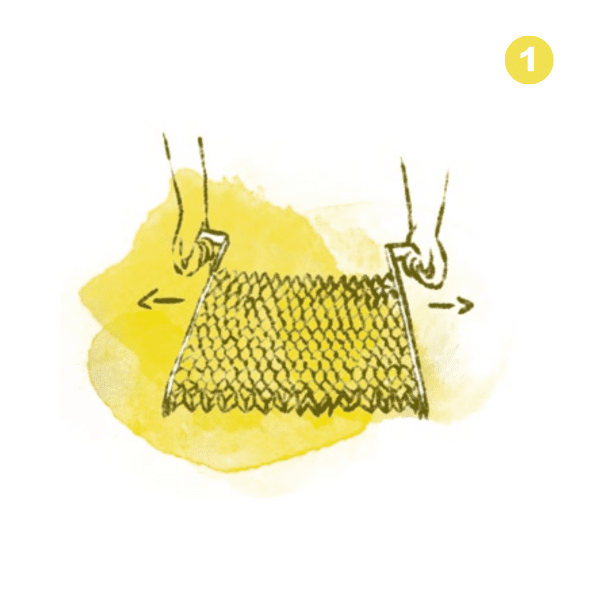
1. Use the spreader bars provided by the manufacturer to stretch out the paper chain pots.
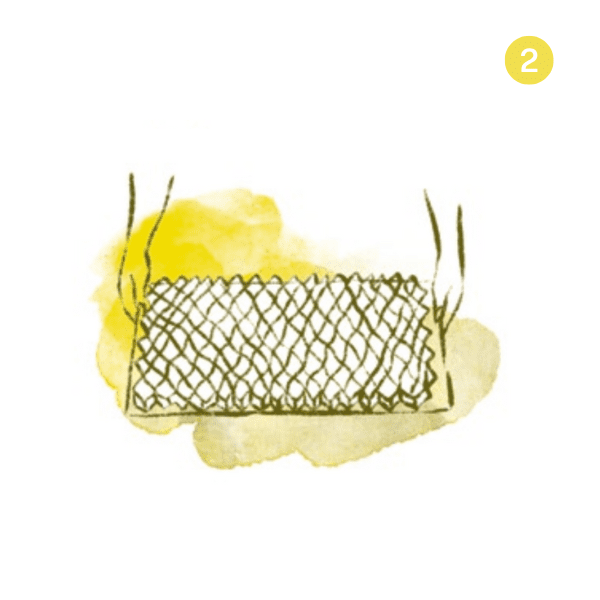
2. Fit the honeycomb grid onto the metal frame by sliding it onto the metal tabs at the edges. Make sure to line it up in the right direction.
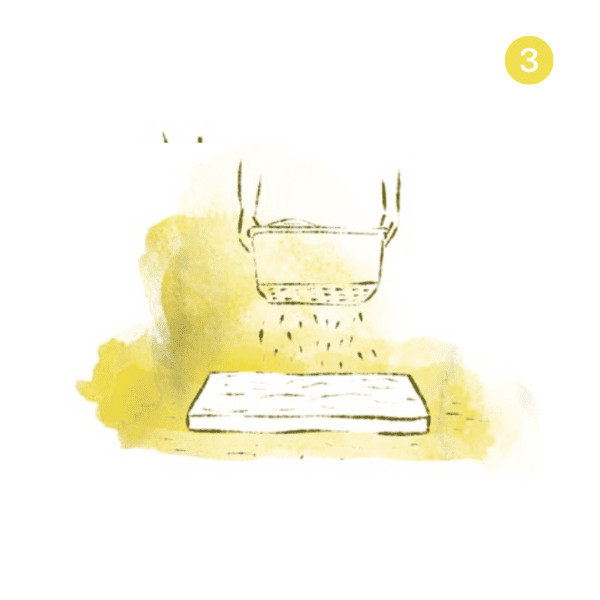
3. Fill the cells with potting mix, then seed as you would with a plug flat (see p. 43). Sprinkle with a sifted potting mix to cover the seeds. Remove the metal frame, then water with a gentle spray. Clean the equipment thoroughly so that it can be used to prepare other seedlings.
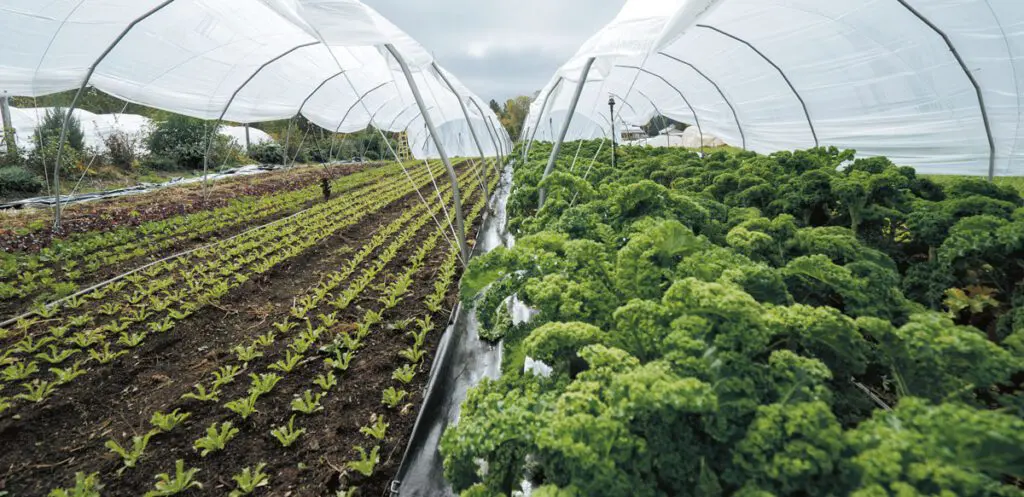
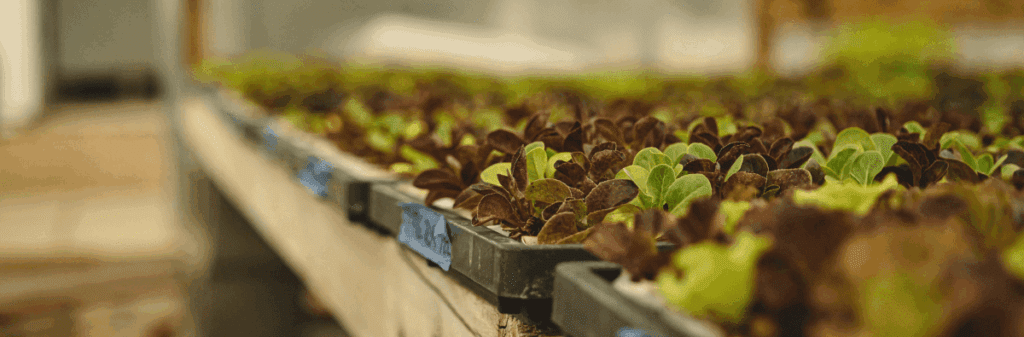
Seedling Room or Nursery?
To start your growing season off on the right foot, seeding early is essential. This is why any vegetable grower worth their salt must have a space dedicated to seedlings. Home gardeners, on the other hand, can not always justify investing in a greenhouse, due to the small number of seedlings they would produce. Instead, they can convert a space in their home to a seedling room: a veranda, an entrance with a glass roof, or even a corner in the kitchen. For home gardeners, and even for microfarms in the start-up phase, this can be a good compromise to minimize expenses. The seedling room must be kept at the right temperature between 64°F and 73°F (18°C and 23°C) during the day and 64°F (18°C) at night and good humidity (60–90% humidity), and above all, it must get a lot of light—14 to 16 hours a day—hence the importance of using supplemental lighting if needed.
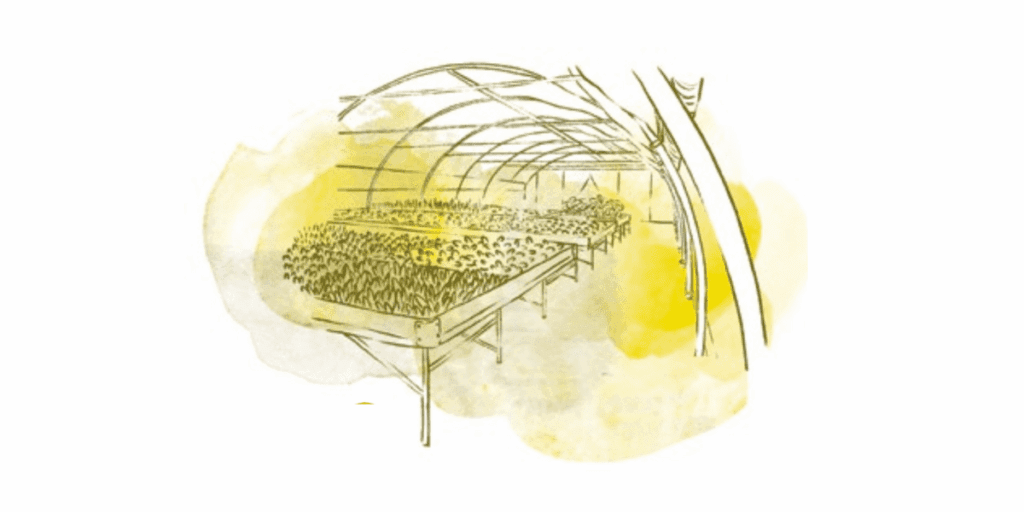
Microfarmers growing on more than 2.5 acres (1 ha) will find that a seedling room is insufficient, and having a space dedicated to seeding and growing young plants is a must: In such cases, these are called nurseries. They are heated greenhouses or tunnels that, unlike seedling rooms, are specifically dedicated to seedling production. If you have a greenhouse, the best solution to avoid building a structure that will only be used a few months a year is to devote one part of it to seedlings. All you need to do is lay a geotextile fabric on the ground to suppress weed growth, and set up removable tables. When you are able to seed outdoors and begin planting seedlings into beds, remove this equipment (geotextile and tables) so that you can grow vegetable crops right in the ground.